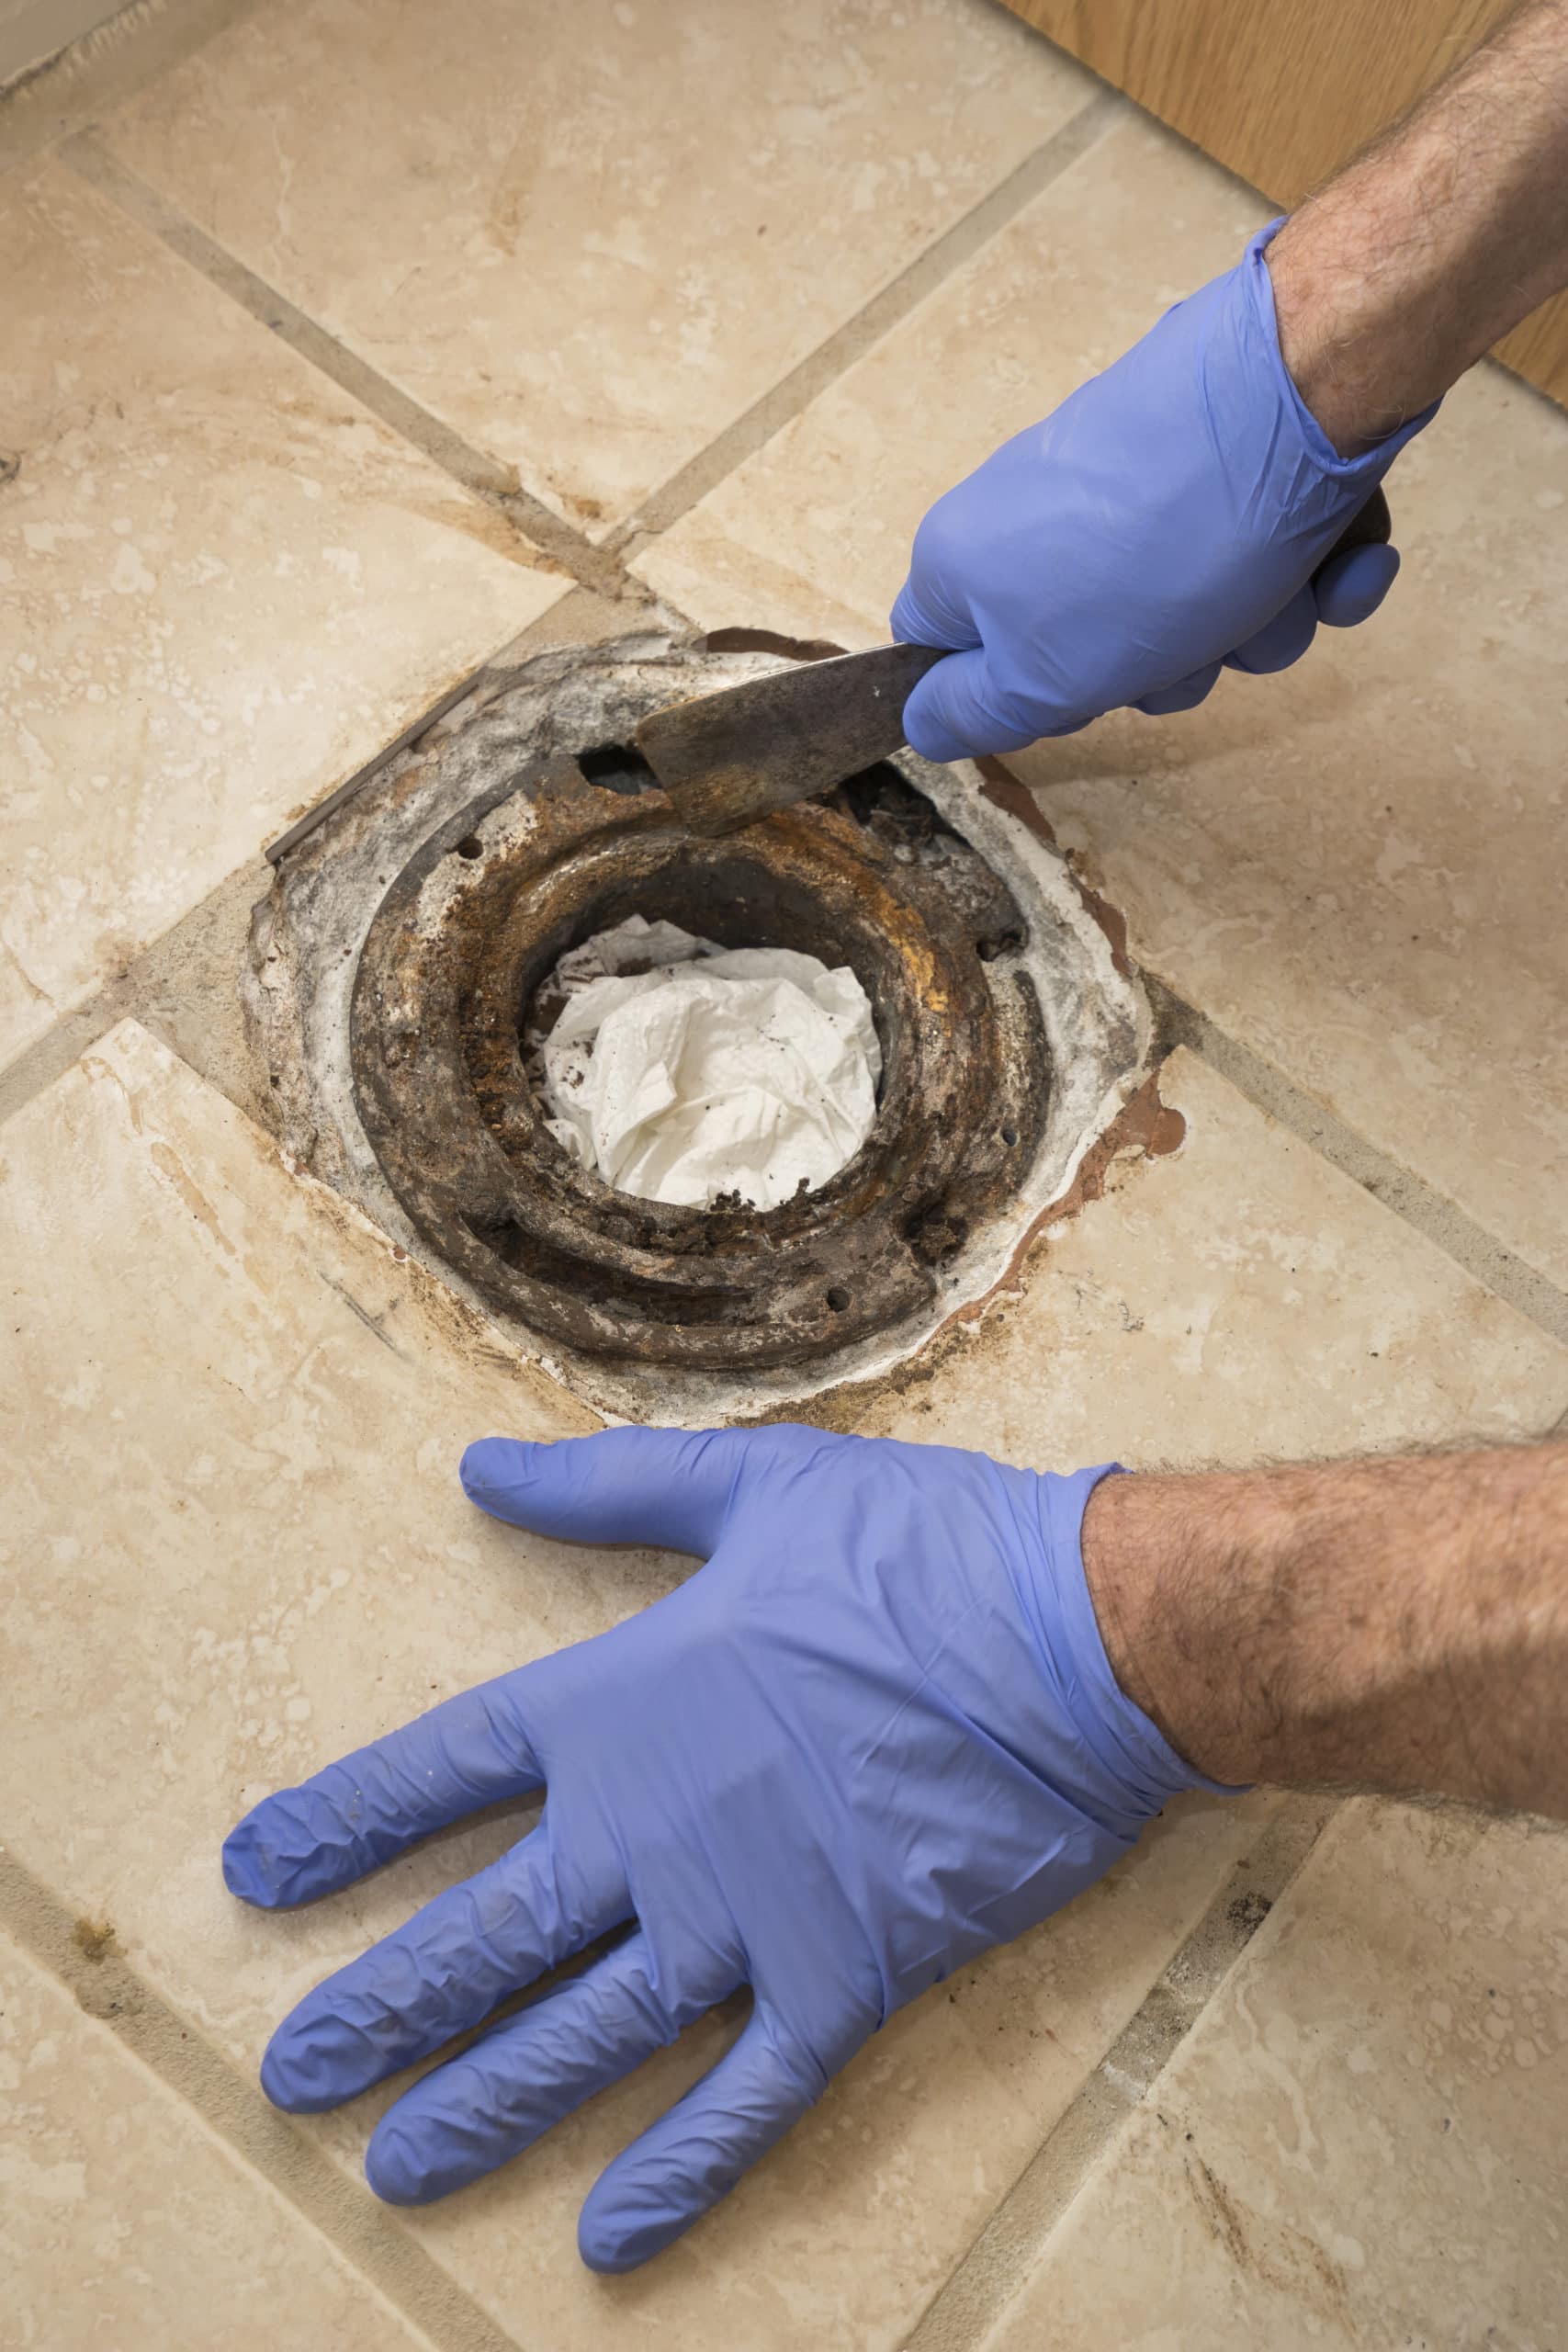
There are a wide variety of toilet flange options available. These may confuse you about how to remove the cast iron toilet flange. Whether you wish to replace your old cast iron toilet flange or remove it for any other reason, we can help. That is the subject of this article. Replace your cast iron toilet flange by following the step-by-step directions provided below.
What is a Cast Iron Toilet Flange?
A cast-iron toilet flange is a small piece of metal that connects to the bottom of the toilet and creates a seal with the floor. The flange allows the toilet to remain stable and secure when sitting on top. Some flanges are made out of plastic, but most are made out of metal. This metal can be cast iron, PVC, or brass.
There are many different types of flanges available in the market today. Some have one hole, while others have two holes, others have a center bolt, and others have side bolts. Most people prefer the two-hole flanges because they are more durable and secure than other types of toilets.
It is necessary to replace yours if you are installing new plumbing. It’s essential to choose the correct size when installing new plumbing because doing so incorrectly could result in leaks and other problems.
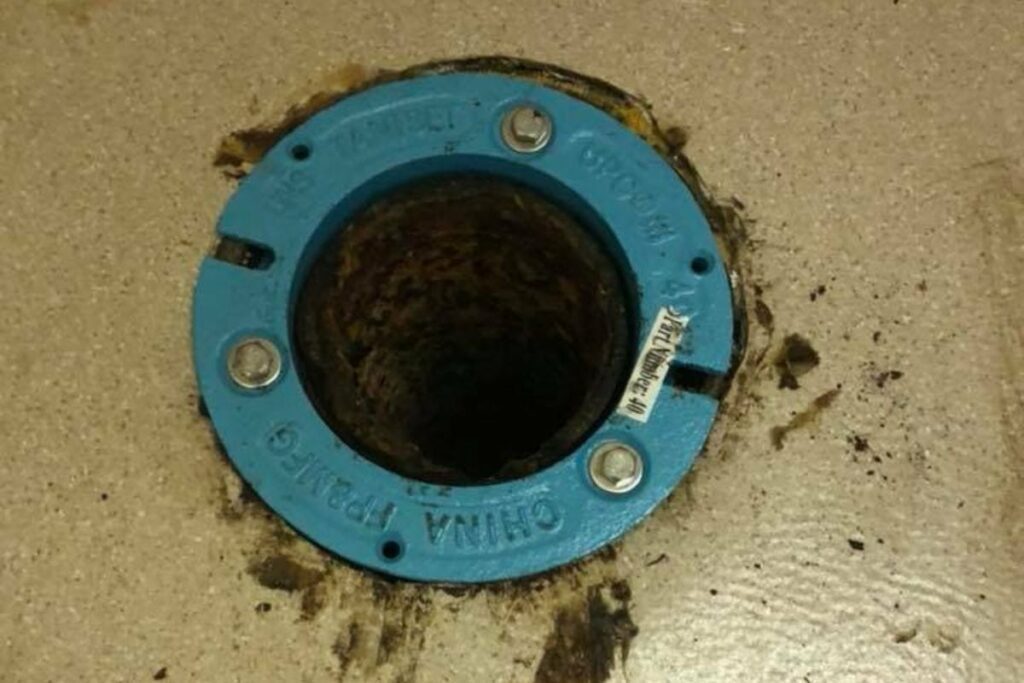
What is a Cast Iron Toilet Flange Used For?
The flange is designed to allow water to flow freely out of the drain line and into your sewage system. It also forms a seal between your toilet and the drain line so that no sewer gas leaks into your home. This prevents unpleasant odors from entering your bathroom.
The flange also prevents sewer gasses from escaping into other parts of your home through cracks in your foundation walls or other openings in your basement flooring.
In addition, it helps prevent water damage by keeping water inside of your piping system instead of allowing it to leak outside, where it can cause damage to floors or walls in an area not connected directly with the plumbing system (such as basements).
Reasons to Replace Your Toilet Flange
Here are the main reasons why you might need to replace your toilet flange:
It’s old and rusted: The most common reason to replace a cast iron toilet flange is that it’s old, rusted, and not in good shape anymore. If you have an older home with a cast iron toilet flange, it may be time to replace it with a new one.

You have leaks: If you notice water leaking from under the toilet, the flange is cracked or broken and needs to be replaced. The flange holds the toilet in place, so if it has a crack or breaks in it, that can cause leaks where the water comes out from underneath the toilet.
The bolts are loose: If the bolts on your flange are loose or corroded, that can also cause leaks, and it’s time for a replacement because this will only worsen over time if you don’t fix it; now!
You want to upgrade your bathroom: If you’re looking for a way to modernize your bathroom without spending a lot of money, replacing the old cast iron toilet flange is one great way! Replacing an outdated fixture like a cast iron toilet flange will help make your bathroom look more modern and updated without spending too much money on upgrades. A new toilet flange can also help keep your bathroom safer by preventing slips and falls!
When flushed, your toilet wobbles: The flange is an essential part of your toilet. It holds your toilet in place and supports your entire bathroom floor. If your toilet is wobbly, you could have a broken flange or a cracked base. You’ll need to replace it before it falls apart ultimately.
Step-by-Step to Remove Cast Iron Toilet Flange
A cast-iron toilet flange is an integral part of a toilet. It’s a circular piece of metal that attaches to the floor and supports the toilet bowl. This flange supports the weight of your toilet, so it doesn’t crack or break when you use it. When removing a cast iron toilet flange, you need to know how to do it properly.
Step 1: Turn off the water supply
The first step is turning off the toilet tank’s water supply. You can achieve this by shutting off the main water supply to your home or apartment building. If you are not sure where this is located, ask a neighbor or call a plumber.
Step 2: Remove Bolt Holes
The next step in removing a cast iron toilet flange is removing the bolt holes inside your bathroom wall using an electric drill and a socket bit that matches your bolts’ size. You can also use a hammer and chisel if you prefer doing things manually rather than with power tools. The hole should be big enough for water to flow through freely without being obstructed by any remaining pieces of mortar or concrete around it.
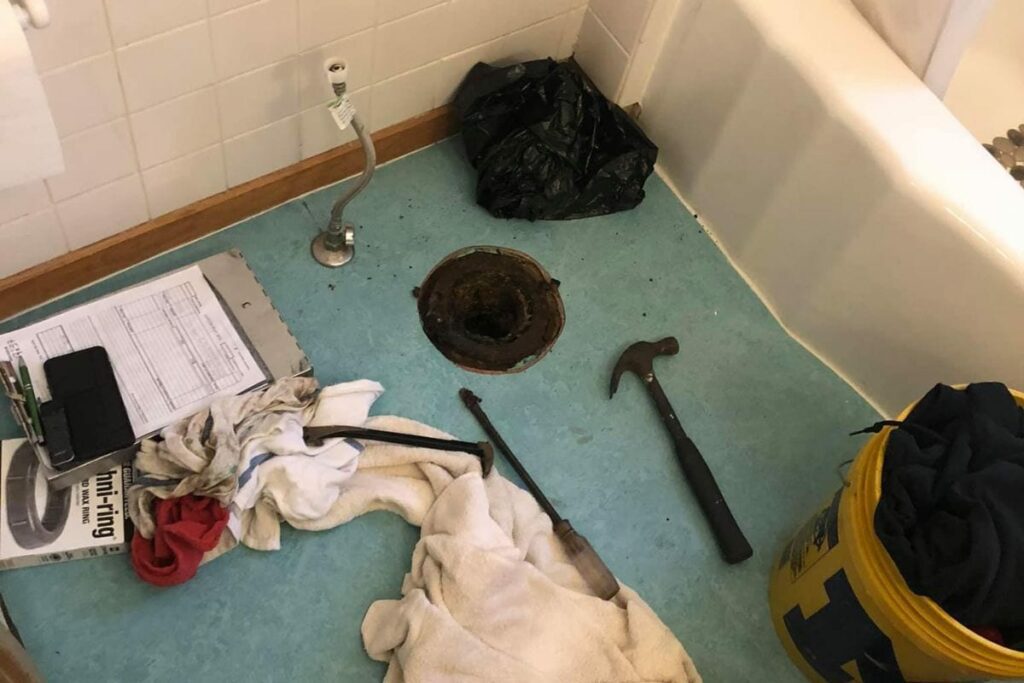
Step 3: Remove any debris from around the drain pipe
Using a wire brush attachment on an electric drill or a stiff-bristled scrub brush, clean away any debris clogging the drain pipe below your toilet flange. You may need to use pliers or another tool to loosen large waste pieces before removing them thoroughly with a wire brush or scrub brush.
Step 4: Begin by placing a damp towel over the broken part of the pipe
This will help prevent damage or injury to yourself or others in your household.
Step 5: Start cutting with a hacksaw.
Start cutting with a hacksaw, using it to cut through the cast iron flange just below where it meets the pipe coming out of the wall or floor. Once you’ve cut through most of the material in this area, use pliers to break off any remaining pieces of metal, so you have access to all sides of the broken section of pipe.
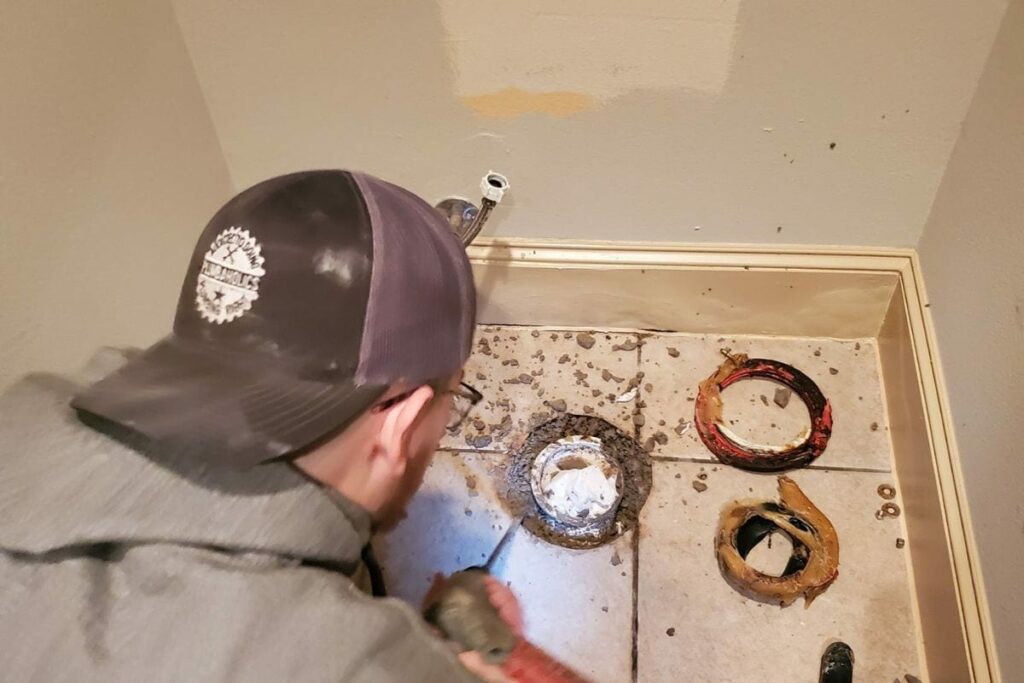
Step 6: Remove the old wax ring
It may be necessary to use a hammer and chisel to separate any residual pipes. If it is stuck together due to rust or corrosion after cutting off the top edge with your hacksaw blade or if you accidentally cut through some of it during sawing or chiseling away at this point. This could cause more damage than good for future repairs if not caught before attempting them again later on down the road when all else fails during further attempts at removing this part from its base beneath your toilet bowl itself!
Step 7: Remove rust from the pipe.
If your toilet has been leaking due to rusting around the pipe where it meets the toilet, then this is likely why you’re replacing your cast iron flange. You may be able to fix this problem by sanding down any rusted areas on the pipe and applying some rust-resistant paint or primer. If there are any significant holes or gaps in your pipe, you’ll need to patch these up with epoxy putty before painting or priming them.
Step 8: Install a new cast iron toilet flange.
You should then install your new cast iron toilet flange over the pipe where your old one once was. Put some PVC cement on the pipe end where the new flange will go, then press it into place over it. Push down on it until most of the cement has hardened, then let it sit overnight so that the rest of the cement can be set entirely before proceeding with the final step.
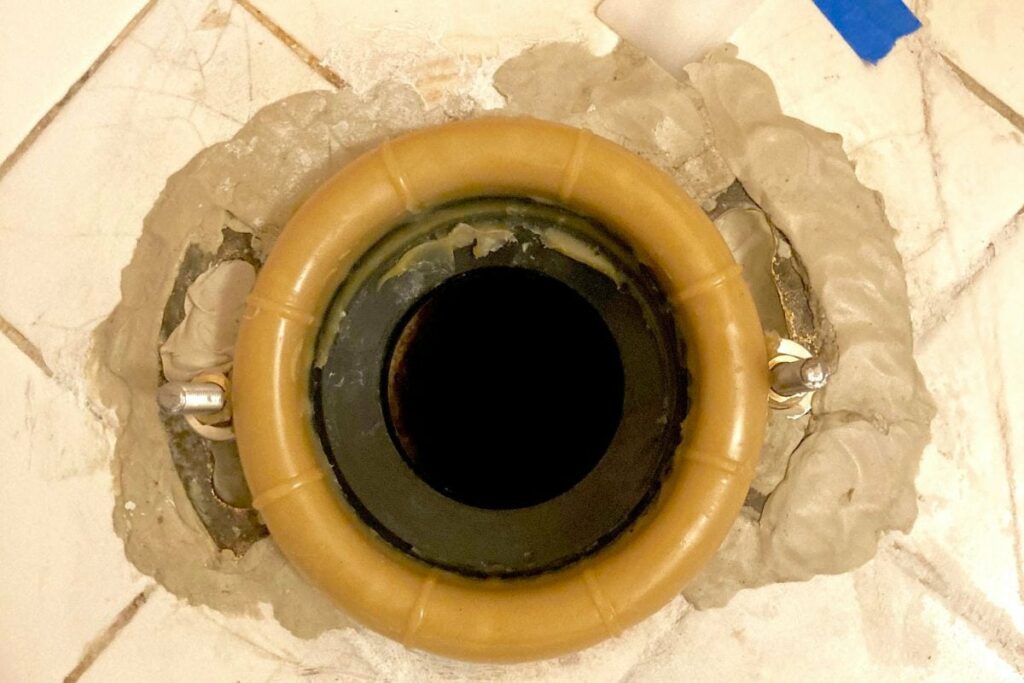
Step 9: Seal around toilet flange
Strip about 1/4 inch of insulation from both ends of each wire lead on your electrical box and connect them using a plumber’s tape (insulated copper wire). Then strip about 1/4 inch from both ends of your hot water supply line and connect them using a plumber’s tape. Finally, use another piece of plumber’s tape to secure these two wires together inside your electrical box. They are now connected but not to anything else yet.
You’ll need to seal around the toilet flange with silicone or another sealant that will withstand water pressure. Use a putty knife or chisel to remove any excess silicone before attempting to lift the toilet.
Conclusion
After reading this, you will be more familiar with how you should remove that toilet. This is a minor procedure and very easy to do as long as you follow these steps. Hopefully, your bathroom will look better than ever.

Amos Christen graduated with a bachelor’s degree in Interior Design from Drexel University — Philadelphia, PA. Since 2003, Amos has worked with top interior design professionals in this area, including architects and interior/graphic/lighting designers. As a skilled interior designer, Amos Christen is highly versed in fine arts and crafts and uses that to supplement his main area of expertise. He often publishes articles related to home décor on several websites, including Sprucetoilets.com, Sprucebathroom.com, and Mybesuitedhome.com. He also contributes to leading interior design magazines.
