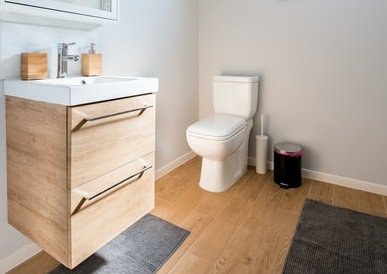
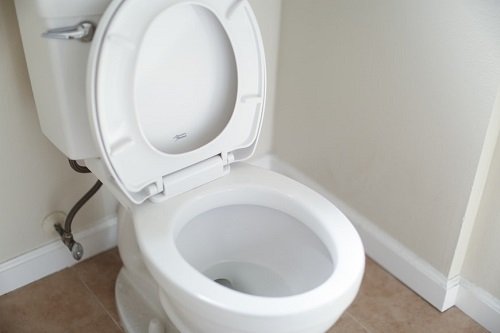
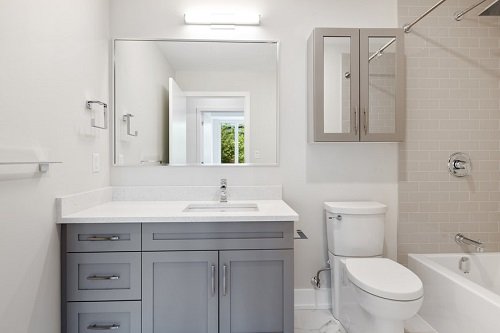
The distance from the front and sides of your toilet to the walls or the center of the closet flange and rear wall is known as clearance. You can experience an 8-inch rough-in toilet problem when replacing a toilet unit with an 8-inch rough-in with a modern design with 10-inch, 12-inch, or 14-inch rough-in. When installing a new toilet during a bathroom renovation project or in a new home, you need to be extra careful to get it right the first time and avoid costly repairs down the road. First, you need to get the measurements right before purchasing a new toilet system to avoid investing in a unit that is either too small or too big for your available bathroom space.
Even if you try a few workarounds and tweaks to make sure the toilet fits the designated space, you’re likely to face unwarranted plumbing problems in the long run.
Resolving An 8-Inch Rough-In Problem
It’s important to have the right clearance that is sufficient enough to accommodate your new toilet system. With an 8-inch rough-in clearance, installing a toilet can be quite challenging. That is why most established manufacturers of modern-day toilets focus on producing toilets that require a clearance of 10, 12, and 14 inches. But, in case you come across a toilet with an 8-inch rough-in distance, you should try and resolve the odd rough-in size.
Here are a few tricks that can help you resolve the odd 8-inch rough-in toilets by replacing them with 12-inch or 14-inch rough-in options that are modern and efficient.
1. Install Wall-Mounted Toilets
However, if you choose to go for this particular option, you need to install a new plumbing waste line for your toilet. Today, wall-mounted toilets have become popular in modern homes and commercial buildings. This is mainly because these toilet designs are great space-saving units that are also easy to clean and maintain.
Additionally, you need to be aware of some wall-mounted designs that sit on the ground just like their floor-mounted counterparts but with a rear part that touches the wall connecting with a drain stub on the wall. So, don’t be surprised to see a new wall-hung toilet that doesn’t hang from your wall. In such situations, you need to seek help from a professional plumber to help you fix your new commode.

2. Try Offset Commode Flange
The other viable option you should try out in resolving old 8-inch rough-in size issues of your toilet is using the commode flange drainpipe. Replace the pipeline with a 1- or 2-inch offset flange. This option is one of the most inexpensive ways of resolving the 8-inch rough-in toilet problem in your bathroom. This solution works best for toilets with rough-in sizes that are too close to the basement walls.
A commode flange is the electrical drain outlet connection device for fixing the commode. Your existing toilet may have an older flange shaft that protrudes under the floor’s surface to attach the toilet to the sewer line. The capacity for balancing out a new Offset Commode Flange ought to be 1 or 2 inches. That means you’ll have to move the toilet’s center by a distance of 1 or 2 inches from the wall surface.
At a clearance of 8 or 9 inches, you need to enhance the size to a 10-inch rough-in size. Furthermore, there are better rough-in size commodes on the market, such as the 10-inch Toto Drake bathroom that you can invest in, and you’re good to go.
This is the most affordable and quickest way of resolving the current 8-inch rough-in toilet installation problem you’re facing. However, you may need to chisel out part of your bathroom to resolve the problem with a countered flange.
Below are some great 10-inch rough-in toilets you could op for:
3. Renovate Your Walls
You can renovate some parts of your walls to increase the distance between the wall and the toilet drain. That means you can resolve the 8-inches rough-in size by moving the wall back two inches to create sufficient space for a 10-inches rough-in toilet. However, you should remember that the only types of walls that you can adjust safely without the help of a professional contractor are partition walls or non-load-bearing walls. That is why it’s advisable to consult a professional if you’re not sure of the type of walls abutting your toilet system.
Resolving Insufficient Clearances
According to the recommendations of building codes, the clearances for toilet installations should be sufficient enough for safety and comfort while using a toilet. In other words, you should feel comfortable and be able to retain the use of all your limbs when handling your business in the bathroom. The clearances for installing an accessible bathroom from scratch are even greater than those of replacing standard toilets in many households.
The building codes may require you to have clearances of 15-18 inches from both sides of your unit and around 2 ft.
As you try and figure out the best way of resolving the 8-inch rough toilet problem in your bathroom, there are certain critical considerations you need to keep in mind, such as:
- Older residential and commercial properties with small bathrooms often have round-front bowls that can allow you to install 10-inch rough-in toilets.
The most standard rough-in measurement (the 12-inch rough-in) allows you to install different toilet bowl shapes and designs. - Larger bathrooms that are more spacious can comfortably accommodate 14-inch rough-in toilets and offer you more variety when choosing the perfect toilet style for your bathroom.
It’s important to be accurate when measuring the size of your bathroom before you set out to shop for a new toilet system. In fact, it pays to measure the size of the toilet’s designated space in the bathroom a few times so you can be sure that everything is consistent. If you don’t get it right, you might experience various toilet problems, such as a toilet up-flushing on your walls.

How To Properly Measure The Rough-In Size
To resolve 8-inch rough-in problems, the first step is to take some measurements to lay down the base work before you start doing the real work. Roughing in is required in plumbing, construction, and electrical variants. If you manage to get the right measurements the first time, you’ll save a lot of effort and strain and make the entire toilet installation process simpler.
Make sure you measure against the back wall, not from the baseboard to the flange. Take a few more measurements and if you come up with 10 or 14 inches, consider substituting with the right fitting size toilet.
Be sure to measure from the wall behind the unit to the middle of the closet bolts. You want to take the right measurements before detaching the unit to expose the flange. If the measurements you get are not exactly 10, 12, 14 inches, simply round up the number mathematically to get the correct dimensions.
Taking Rough-in Measurements for Toilets with 4 Closet Bolts
If the toilet unit has four closet bolts, be sure to measure to the center of one of its rear bolts. This is considered the precise way of getting the correct measurement of the distance between the wall and the center of the flange. Take about 15 inches from the wall to the center of the flange if you to accurately define the distance on both sides of your unit.
Add about a half-inch of the wall to your measurements to account for the drywall if your wall is unfinished. When measuring the range between the wall and the front of your toilet, ensure the range meets your plumbing code. According to the IPC (International Plumbing Code), the minimum size of your plumbing code should be at least 21 inches.
But, if the plumbing code is under the UPC (Uniform Plumbing Code), the minimum size of your plumbing code should be at least 24 inches. In case your floor is unfinished, you may also need to account for the height of the flooring material so you can get the right measurements.
Wrap Up
Knowing the clearance of your toilet or the distance from the unit’s front and sides to the adjacent walls is very critical when investing in a new toilet system. Having the right clearance makes accessibility to the unit more comfortable for the users. Feel free to ask questions or share your experiences resolving 8-inch rough-in toilet problems in our comments section below.

Judy Battista is an interior designer who holds a bachelor’s degree in interior design from Cornell University — Ithaca, NY. Her passion for home improvement and interior design has contributed to her extensive knowledge of everything bathroom remodeling and general interior design. Judy often publishes home décor articles on several websites, including Sprucetoilets.com, Sprucebathroom.com, and Mybesuitedhome.com. She also contributes to various interior design magazines. As a skilled interior designer, Judy Battista is well versed in computer-aided design (CAD) and other technologies used in the interior design space.
