Have you ever had an overflowing toilet tank or a low water level while flushing, causing your toilet to stop working properly? That is because your toilet float needs to be adjusted! Surely you’re trying to figure out how to adjust it. Well, here’s your answer:
- Unscrew the float so that it lowers with the water level.
- Keep turning until the toilet water stops running.
- Flush the toilet.
- After the tank refills, check the water level if it’s below the top fill line on the float’s overflow tubing.
- Keep lowering the float until the water level is lower.
There are different types of toilet floats that require different methods of adjusting. Make sure to turn off the water supply before you start adjusting any type of toilet float.
To learn to adjust it, you will have to follow the step-by-step guide for each type of toilet float.
In this article, I will go over all of the different types and how to easily adjust them, as well as everything else you need to know about toilet float adjustments.
When Should You Adjust Your Toilet Float?

There are a few signs indicating that your toilet float needs adjustments including the sound of water running in your toilet or if your toilet flushes slowly or stops halfway through the flush.
#1 When You See Running Toilet
If you see your toilet constantly running even when you are not using it, it is possible that your toilet float might not be in the right position.
Most of the time, the toilet float is set above the desired level which also makes the water level too high, and the water ends up overflowing, resulting in a running toilet.
#2 When Your Toilet Requires Multiple Flushes
If you flush once and you feel the need to flush it once more to have your toilet clean, you will have to wait for a while until the tank refills. While this is irritating, it also indicates the incorrect position of your toilet float.
When the toilet float is below the desired position, there is not enough water in the tank to satisfy the need for a single flush, which results in the need for two flushes.
#3 When Water Level is Low in the Bowl
The presence of water in your bowl even below the usual waterline indicates that you need to make adjustments.

When the fill valve does not fill your tank sufficiently, you will have a low water level in the toilet bowl. To resolve this issue, you will need to adjust the toilet float.
#4 When Toilet Tank Takes Time to Refill
If you notice that it takes a while for your tank to refill, you will immediately realize that the fill valve in your toilet has been clogged by mineral deposits.
At this point, you will need to replace your fill valve and toilet float.
I have written a separate guide on Toilet Tank Won’t Fill Up Or Is Slow To Fill-Causes And Fixes — Check it out!
How to Prepare for Toilet Float Adjustment?
To prepare to best adjust your toilet float you must first remove the tank lid carefully and place it safely to avoid damage. Then look into the type of float that your toilet has and learn about the type to do your adjustments perfectly!
There are also a few tools and materials you will need to have beforehand before you begin adjusting your toilet float.
- Screwdriver: to adjust the float
- Rag: to wipe off the water that splashes
- Penetrating oil: to lubricate the float
Before you begin adjusting any type of toilet float, make sure to turn off the water supply because you don’t want the water to overflow while you adjust the float!
When you remove the tank lid, you’ll notice a chain connecting the float arm to the toilet tank’s bottom section. Adjust the chain so that there is enough flexibility.
When you lift the chain’s end, it should pull down and fully open the flush valve inside the toilet bowl.
What Kinds of Toilet Floats Are There?
It is important to identify which type of float your toilet has. Here are the 3 types:
Ball-And-Arm Float

Ball-and-arm float is a conventional type of toilet float which is mostly found in old toilets. However, you can still find them in many homes today. It has an arm that holds an empty plastic ball, as the name suggests.
The ball sits on the top surface of the water. As you flush the toilet, the ball moves down, pushing the water to flow out.
Once the water is out, the tank starts to refill and the ball determines the amount of water entering the tank.
If you see the water level in the tank below or above the normal then you will know that it is the right time to adjust the float.
Cylinder Float

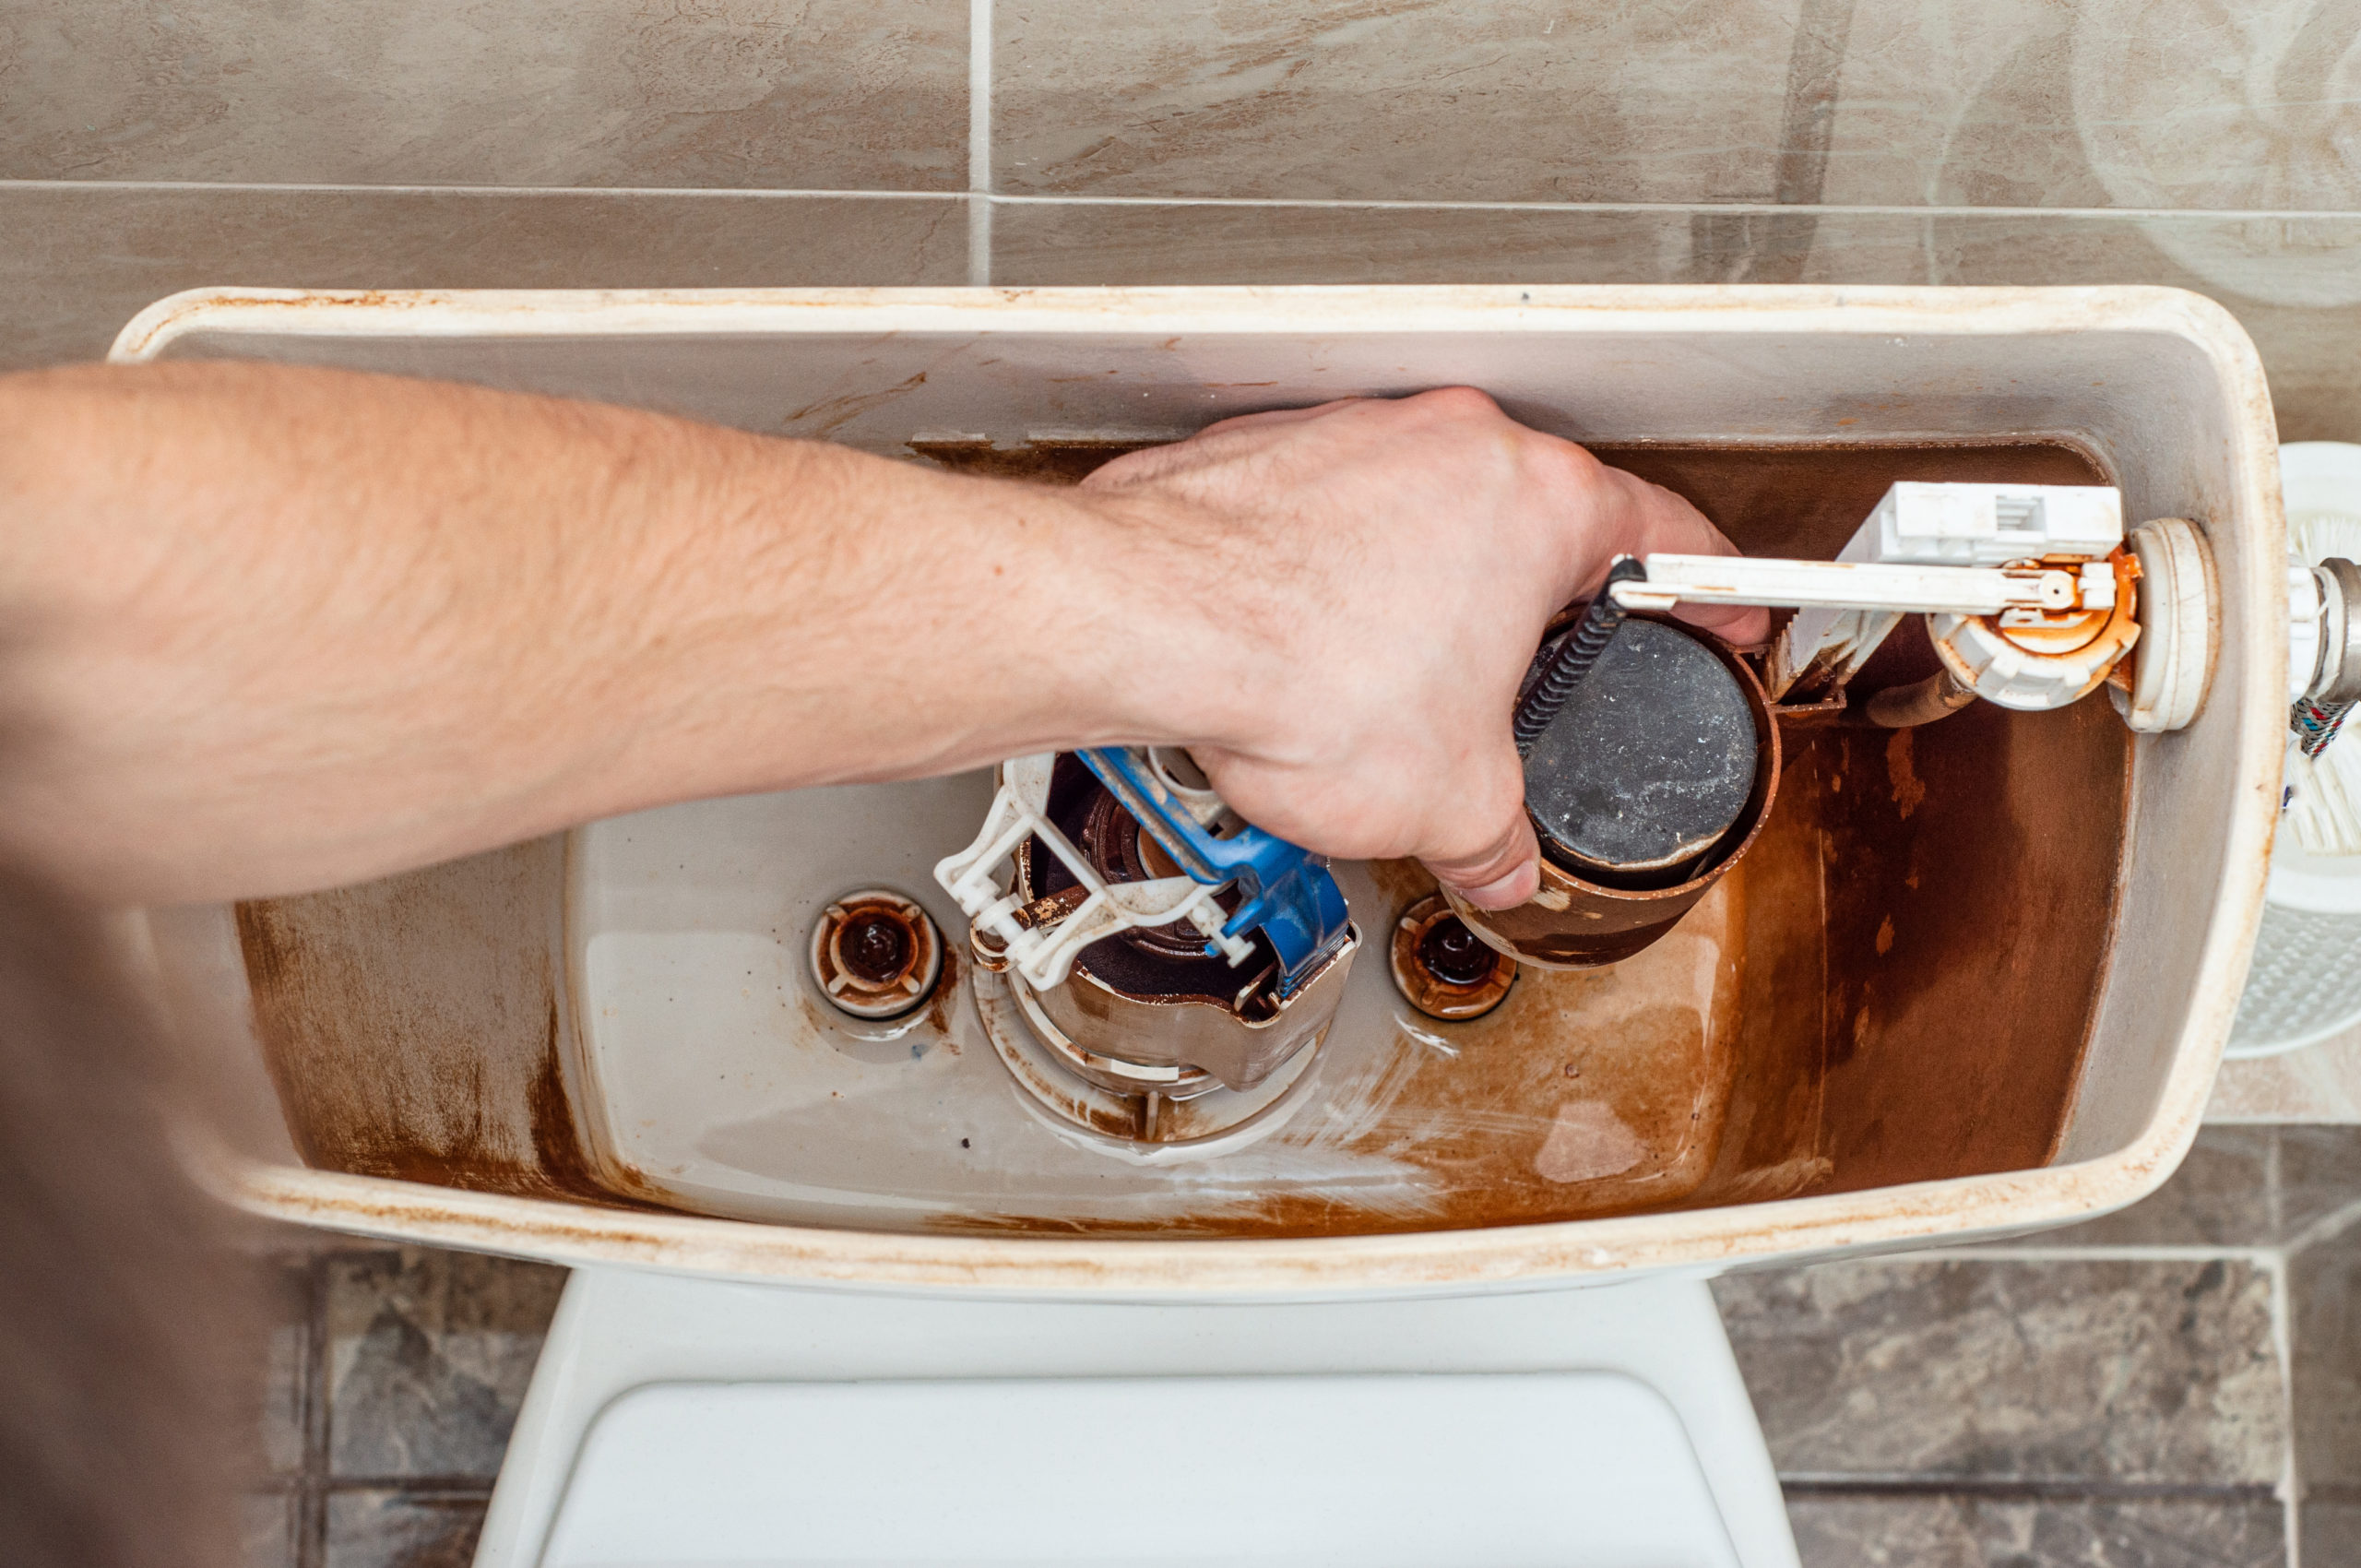
Cylinder float is the latest type and is mostly found in modern homes. People also call it a fluid master or float cup. It’s a cylindrical plastic float cup next to the toilet fill valve, which is why people call it a cylinder float.
The cup floats on the surface of water hence it determines the water’s height.
If the float goes upwards, It means the water level has risen in the tank. Similarly, if you lower the position of the cup, the water level will drop down accordingly.
The advantage of cylinder float over ball-and-arm float is that it has easy installation and maintenance, and is also user-friendly.
Internal Float

The internal float is similar to the cylinder float. Or you can say that it is an advanced version of cylinder float. They are found in most newer toilet tanks.
The system of internal float works similarly to the cylinder float with just a few differences. It has the ability to set the water level more precisely.
Adjusting the Ball-And-Arm Toilet Float

#1 Turn off the Water Supply
Firstly, turn off the water supply to the toilet tank.
#2 Check the Water Level
When you first open the tank lid, check the water level! The water level should reach an inch or two below the tip of the overflow tube.
Some tanks even have a light mark indicating the water level. This way it will be easier for you to check if the water level is correct or not.
#3 Fix the Float Level
The next step is to check the float, which should be at the same level as the water. The float is what allows the tank to fill water to a certain level.
If it is not at the right level, then you must fix it to the water level.
Also, make sure the float is not broken and does not have cracks on it. Otherwise, you can replace it with the new same model float.
#4 Turn the Water Supply On
You can now turn on the water supply that you turned off in the beginning.
Flush the toilet, and let the tank refill with water. If the water is now at your desired level you’re good to go. If not, adjust the float again following the same steps.
Adjusting the Cylinder Toilet Float
#1 Check the Water Level
Open the tank lid, and check the water level the same way as you would while adjusting the ball-and-arm float.
It should be an inch below the overflow tube.
#2 Check the float cup
Now, since the float cup is not as big as the ball, you will have to flush first to see where the float cup is.
If the water level after the flush is not enough, it means the cylinder float is low. Likewise, if there is excess water, the float cup is too high.
#3 Find the Adjustment Stem
You will see an adjustment stem next to the fill valve in your tank. The stem regulates the float’s position as well as the level of water in the toilet tank.
#4 Press and Release the Clip
There is also a clip on the stem which you can press and release to adjust the float.
When you press the clip you will be able to lift or lower the float along the adjustment stem. Once it reaches your desired level, you can release it to tighten the float.
#5 Check If it Is Working Well
Once again, open the water supply, and flush the toilet. As the tank will refill, there will be a new water level in your tank, and should be reaching your desired level.
Adjusting the Internal Toilet Float
#1 Check the Water Level
Start with inspecting the water level. If it is below or above the overflow tube, you will have to make the adjustments.
#2 Detach the Refill Tube
In your tank, you will find a refill tube that will be connected to the overflow pipe. Detach that refill tube as it will allow you to twist the internal float.
You can simply pinch it with your finger and remove it.
#3 Twist the Internal Float
Twist the internal float counterclockwise to unlock it. You can move it up or down if you want more water or if you want to reduce the water level.
Move the entire head of the internal float down to lower the water level. Similarly, move it upwards to raise the water level in the tank.
#4 Attach the Refill Tube
Once you’re done, turn the float clockwise to lock it back in its original place and attach the refill tube back.
#5 Check If It Is Working Well
Lastly, check to ensure that the water is at your desired level by flushing the toilet. If your tank fills up to the exact desired level, you’ve perfected the art of adjusting the toilet float!
Conclusion
With all this knowledge and step-by-step instructions, you can save money by fixing your toilet yourself whenever a problem arises.
All you really need to do to get your toilet functioning perfectly is to be aware of the kind of float it has. The rest of the work will be done if you follow the instructions in this article.

Amos Christen graduated with a bachelor’s degree in Interior Design from Drexel University — Philadelphia, PA. Since 2003, Amos has worked with top interior design professionals in this area, including architects and interior/graphic/lighting designers. As a skilled interior designer, Amos Christen is highly versed in fine arts and crafts and uses that to supplement his main area of expertise. He often publishes articles related to home décor on several websites, including Sprucetoilets.com, Sprucebathroom.com, and Mybesuitedhome.com. He also contributes to leading interior design magazines.
