Have you ever witnessed your toilet idly running? The cause of it is the toilet flapper. Along with the wasteful use of water, the noise it generates is clearly annoying. Well, guess what? You won’t have to deal with this again.
To remove a hard plastic toilet flapper, cut off the water supply. Next, flush the toilet to drain it completely. Following that, disconnect the chain holding it to the flush lever, then take off the screws or leg holding it to the overflow tube. And then you may take out your toilet flapper!
You can certainly replace your toilet flapper, and to do so, I have the easiest way for you to remove the old toilet flapper from your toilet.
Let’s delve into the toilet flapper’s details and a much more thorough step-by-step removal guide.
What Does a Toilet Flapper Look Like?

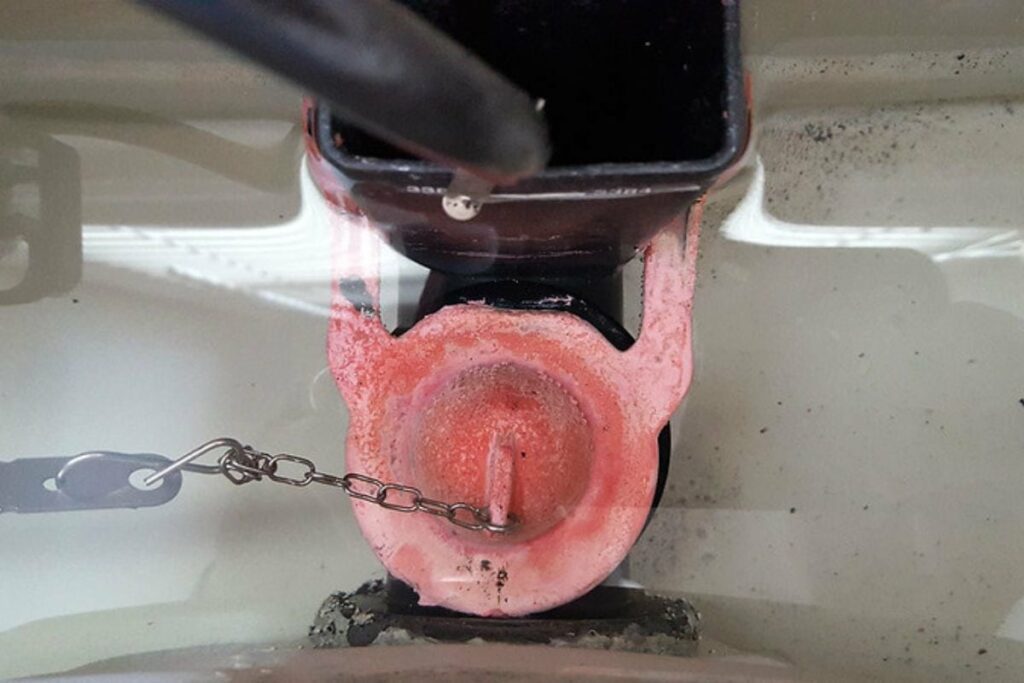
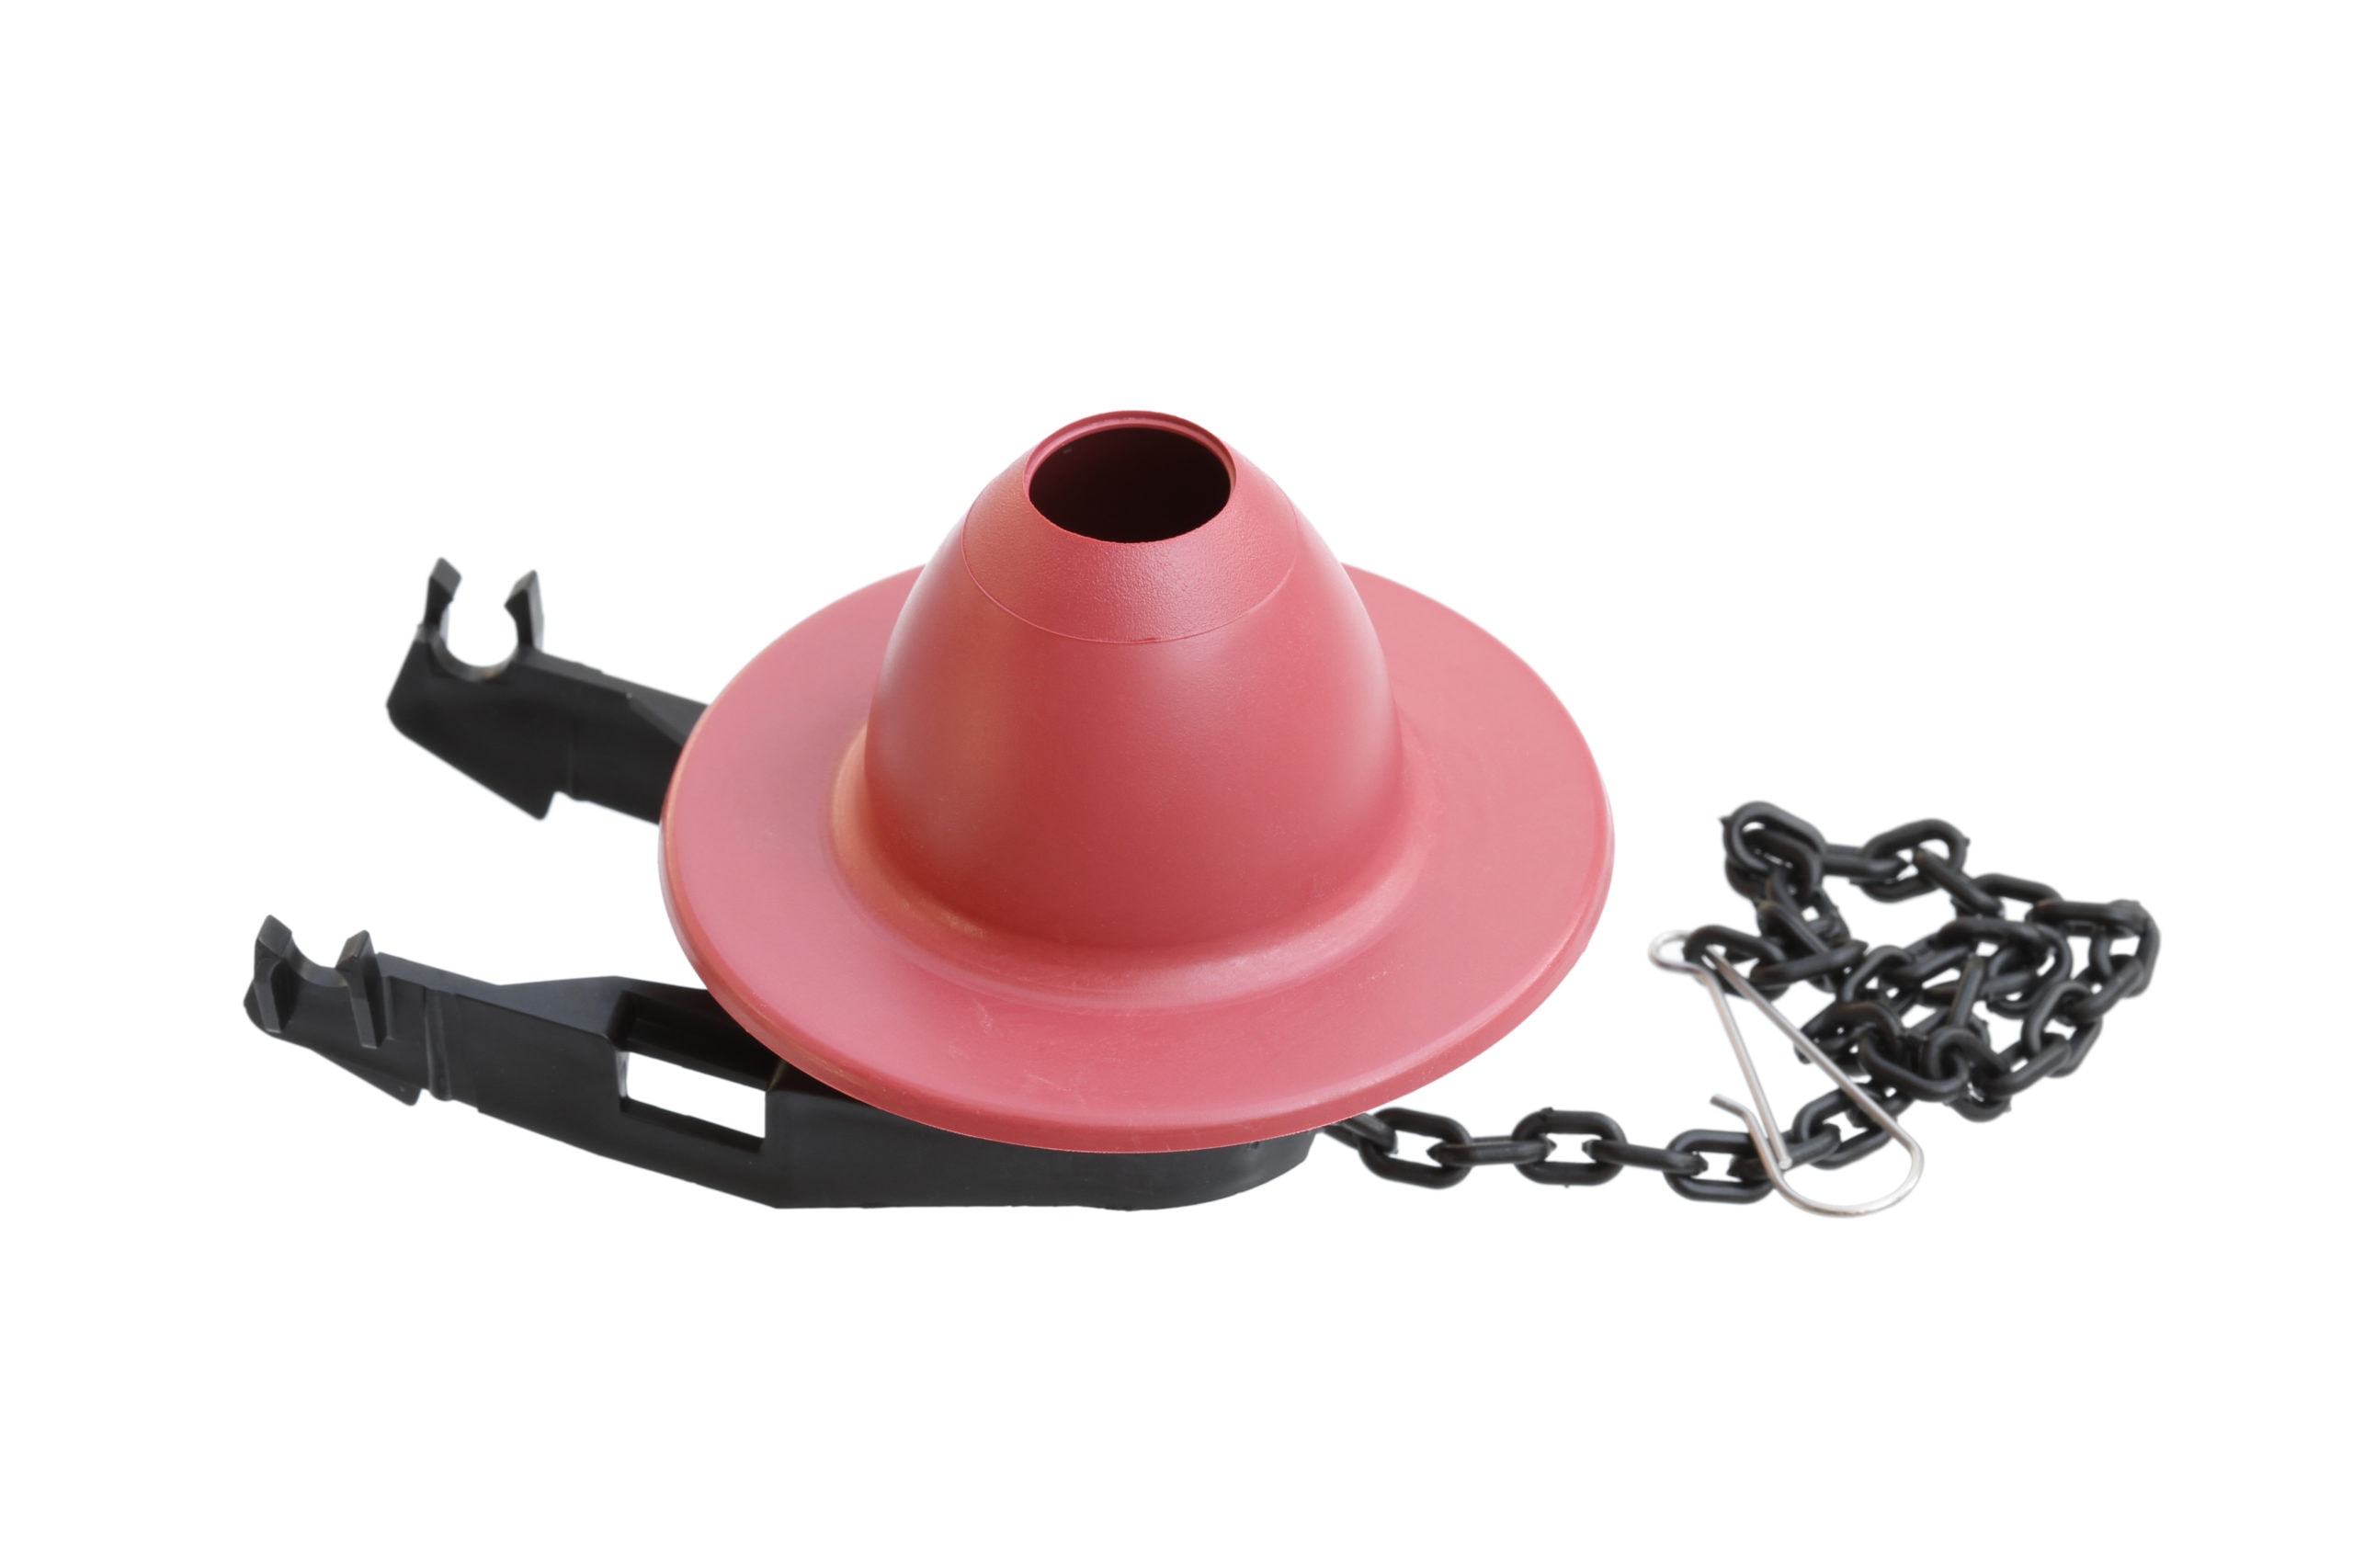
A toilet flapper is a device that is positioned inside the toilet tank. Apparently, it makes a tight seal with the flush tube to stop water from unintentionally leaking out and into the toilet bowl. As a result, it stays shut until you flush the toilet.
A chain in your toilet tank connects the toilet flapper to the flush lever. The chain will pull the flapper upwards when you press the flush button on your toilet. The open flapper will then release the water into the toilet bowl.
A toilet flapper allows you to control when the water runs and when it does not. If the toilet flapper is faulty, the water will keep draining out, which is something you absolutely don’t want!
Removing a Hard Plastic Toilet Flapper — Step-by-Step Guide
You may easily remove the hard plastic toilet flapper on your own, without any assistance, by following the step-by-step instructions outlined below.
Step 1: Turn Off the Water Supply

Turning off the water supply is the first and most important step because there shouldn’t be any water available to run down when removing the toilet flapper.
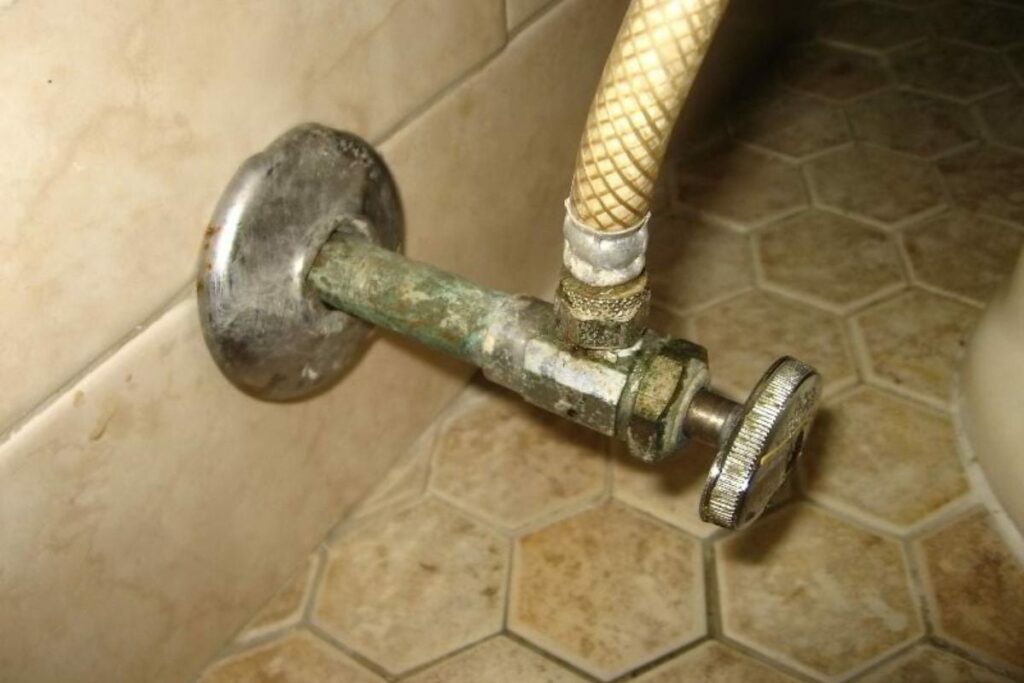
Turn the shut-off valve’s knob counterclockwise to stop the water flow. Your toilet’s water supply will be cut off if you turn it around completely.
Even turning off your home’s main water supply will perform the job.
Step 2: Open the Tank Lid
It goes without saying that you will need access to the toilet tank since the toilet flapper is located there. You must first remove the tank lid from your toilet to do so.
Make sure not to scratch the lid when lifting the tank lid, either by pulling it up firmly by the edges or using screwdrivers, because who would want unsightly scratches on their toilet? Once you’ve removed it, make sure to put it somewhere secure.
Step 3: Drain the Water

To empty the water in your tank into the toilet bowl, flush your toilet by pressing the flush lever.
Draining the water will allow you to quickly reach the flapper and other components of your toilet while keeping them dry.
Step 4: Remove the Chain
In order to disconnect the flapper from the flush lever, which is attached to it through the chain, it is crucial to take the chain off.
Grab the chain firmly with a pair of pliers and pull it away from the overflow pipe.
Be careful to only unplug the chain’s end that is attached to the flush lever and leave the end that is attached to the toilet flapper in place.
Step 5: Remove the Flapper

Now that you’re ready to remove the flapper, let me first explain that there are three different methods you can use, depending on the type of hard plastic toilet flapper you have.
Open Loops
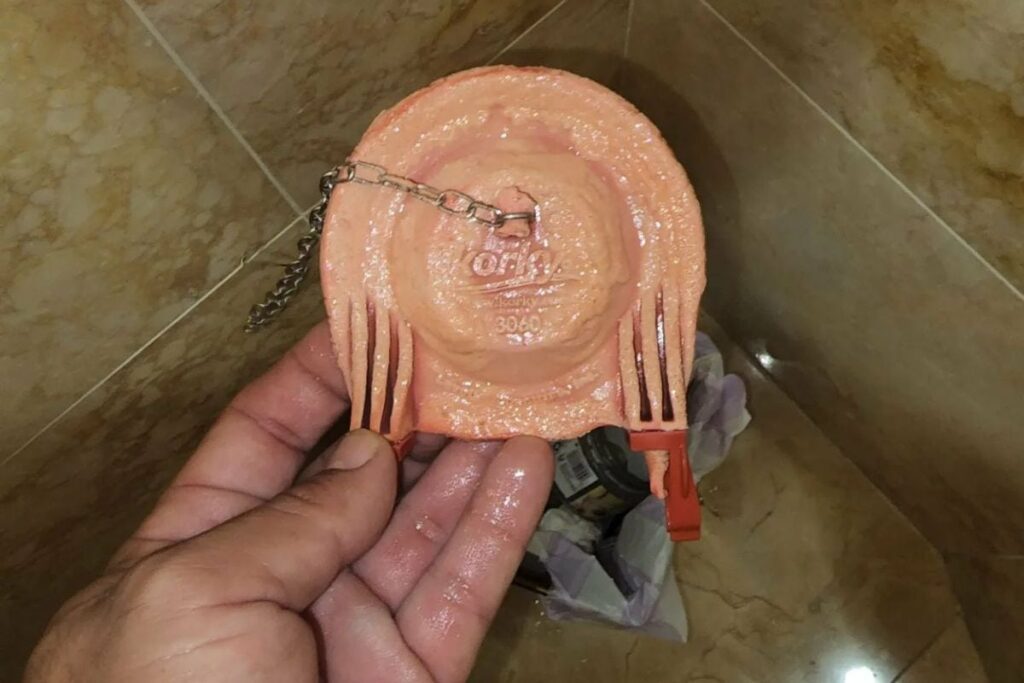
If your hard plastic toilet flapper has open loops, it will also have a couple of safety arms that hold the flapper in place. Remove the arms one at a time until the flapper is released and removed.
Closed Loops
With closed loops in your flapper, you can position the vertical overflow tube in your toilet tank vertically. Rotate the flapper to either the left or the right, and then release the flapper from the other side. And you’ll have the toilet flapper in your hands!
Stuck Flapper
If you have a stuck flapper, you will need to use a knife to cut the flapper’s arms to get it out. However, do not use the knife to damage any other parts of the toilet tank.
How Can You Tell if the Toilet Flapper Needs to Be Replaced?
If your toilet tank does not fill at all or takes a long time to refill after you’ve flushed the toilet, it’s time to replace the flapper. Even if your toilet’s water flows on and off, you should think about replacing it.
Most of the hard plastic toilet flappers deteriorate within three to four years. The seal weakens and breaks down over time, posing issues. Therefore, it’s crucial that you regularly check for leaks and replace the flapper as needed.
How to Replace a Toilet Flapper?
To replace a toilet flapper, first, turn off the water supply. With the old flapper out of the overflow pipe, insert the new one, then secure the chain to the flapper. Make sure that both ends of the chain are evenly spaced.
To remove the toilet flapper and replace it with a new one, you must follow all the directions given above. Do everything gently as you try to replace the flapper since quick, forceful movements might weaken and harm the tank’s structure.
Once the toilet flapper has been replaced, turn on the water supply to get your toilet operating as it should.
Conclusion
You may have gotten the impression after reading the article that removing and replacing a toilet flapper is actually not all that difficult.
Now that you have all the instructions make sure to follow them precisely and check your toilet flapper frequently to avoid having to deal with a leaky toilet or a flush that does not produce any water.

Amos Christen graduated with a bachelor’s degree in Interior Design from Drexel University — Philadelphia, PA. Since 2003, Amos has worked with top interior design professionals in this area, including architects and interior/graphic/lighting designers. As a skilled interior designer, Amos Christen is highly versed in fine arts and crafts and uses that to supplement his main area of expertise. He often publishes articles related to home décor on several websites, including Sprucetoilets.com, Sprucebathroom.com, and Mybesuitedhome.com. He also contributes to leading interior design magazines.
