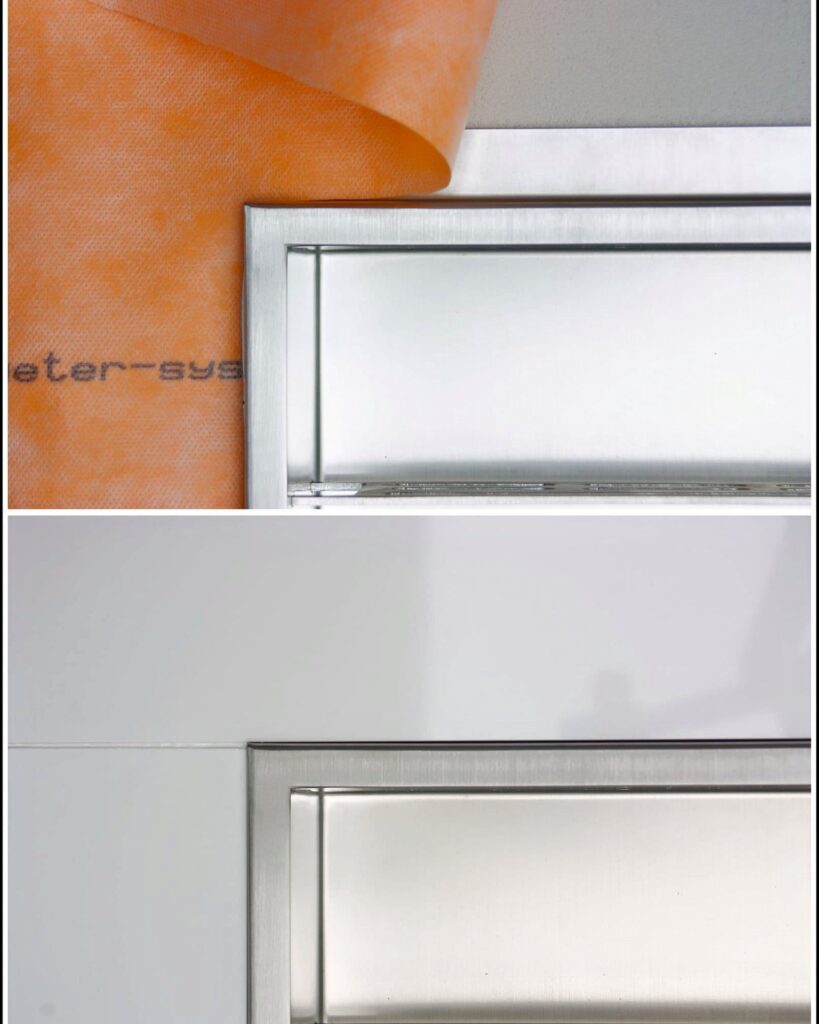
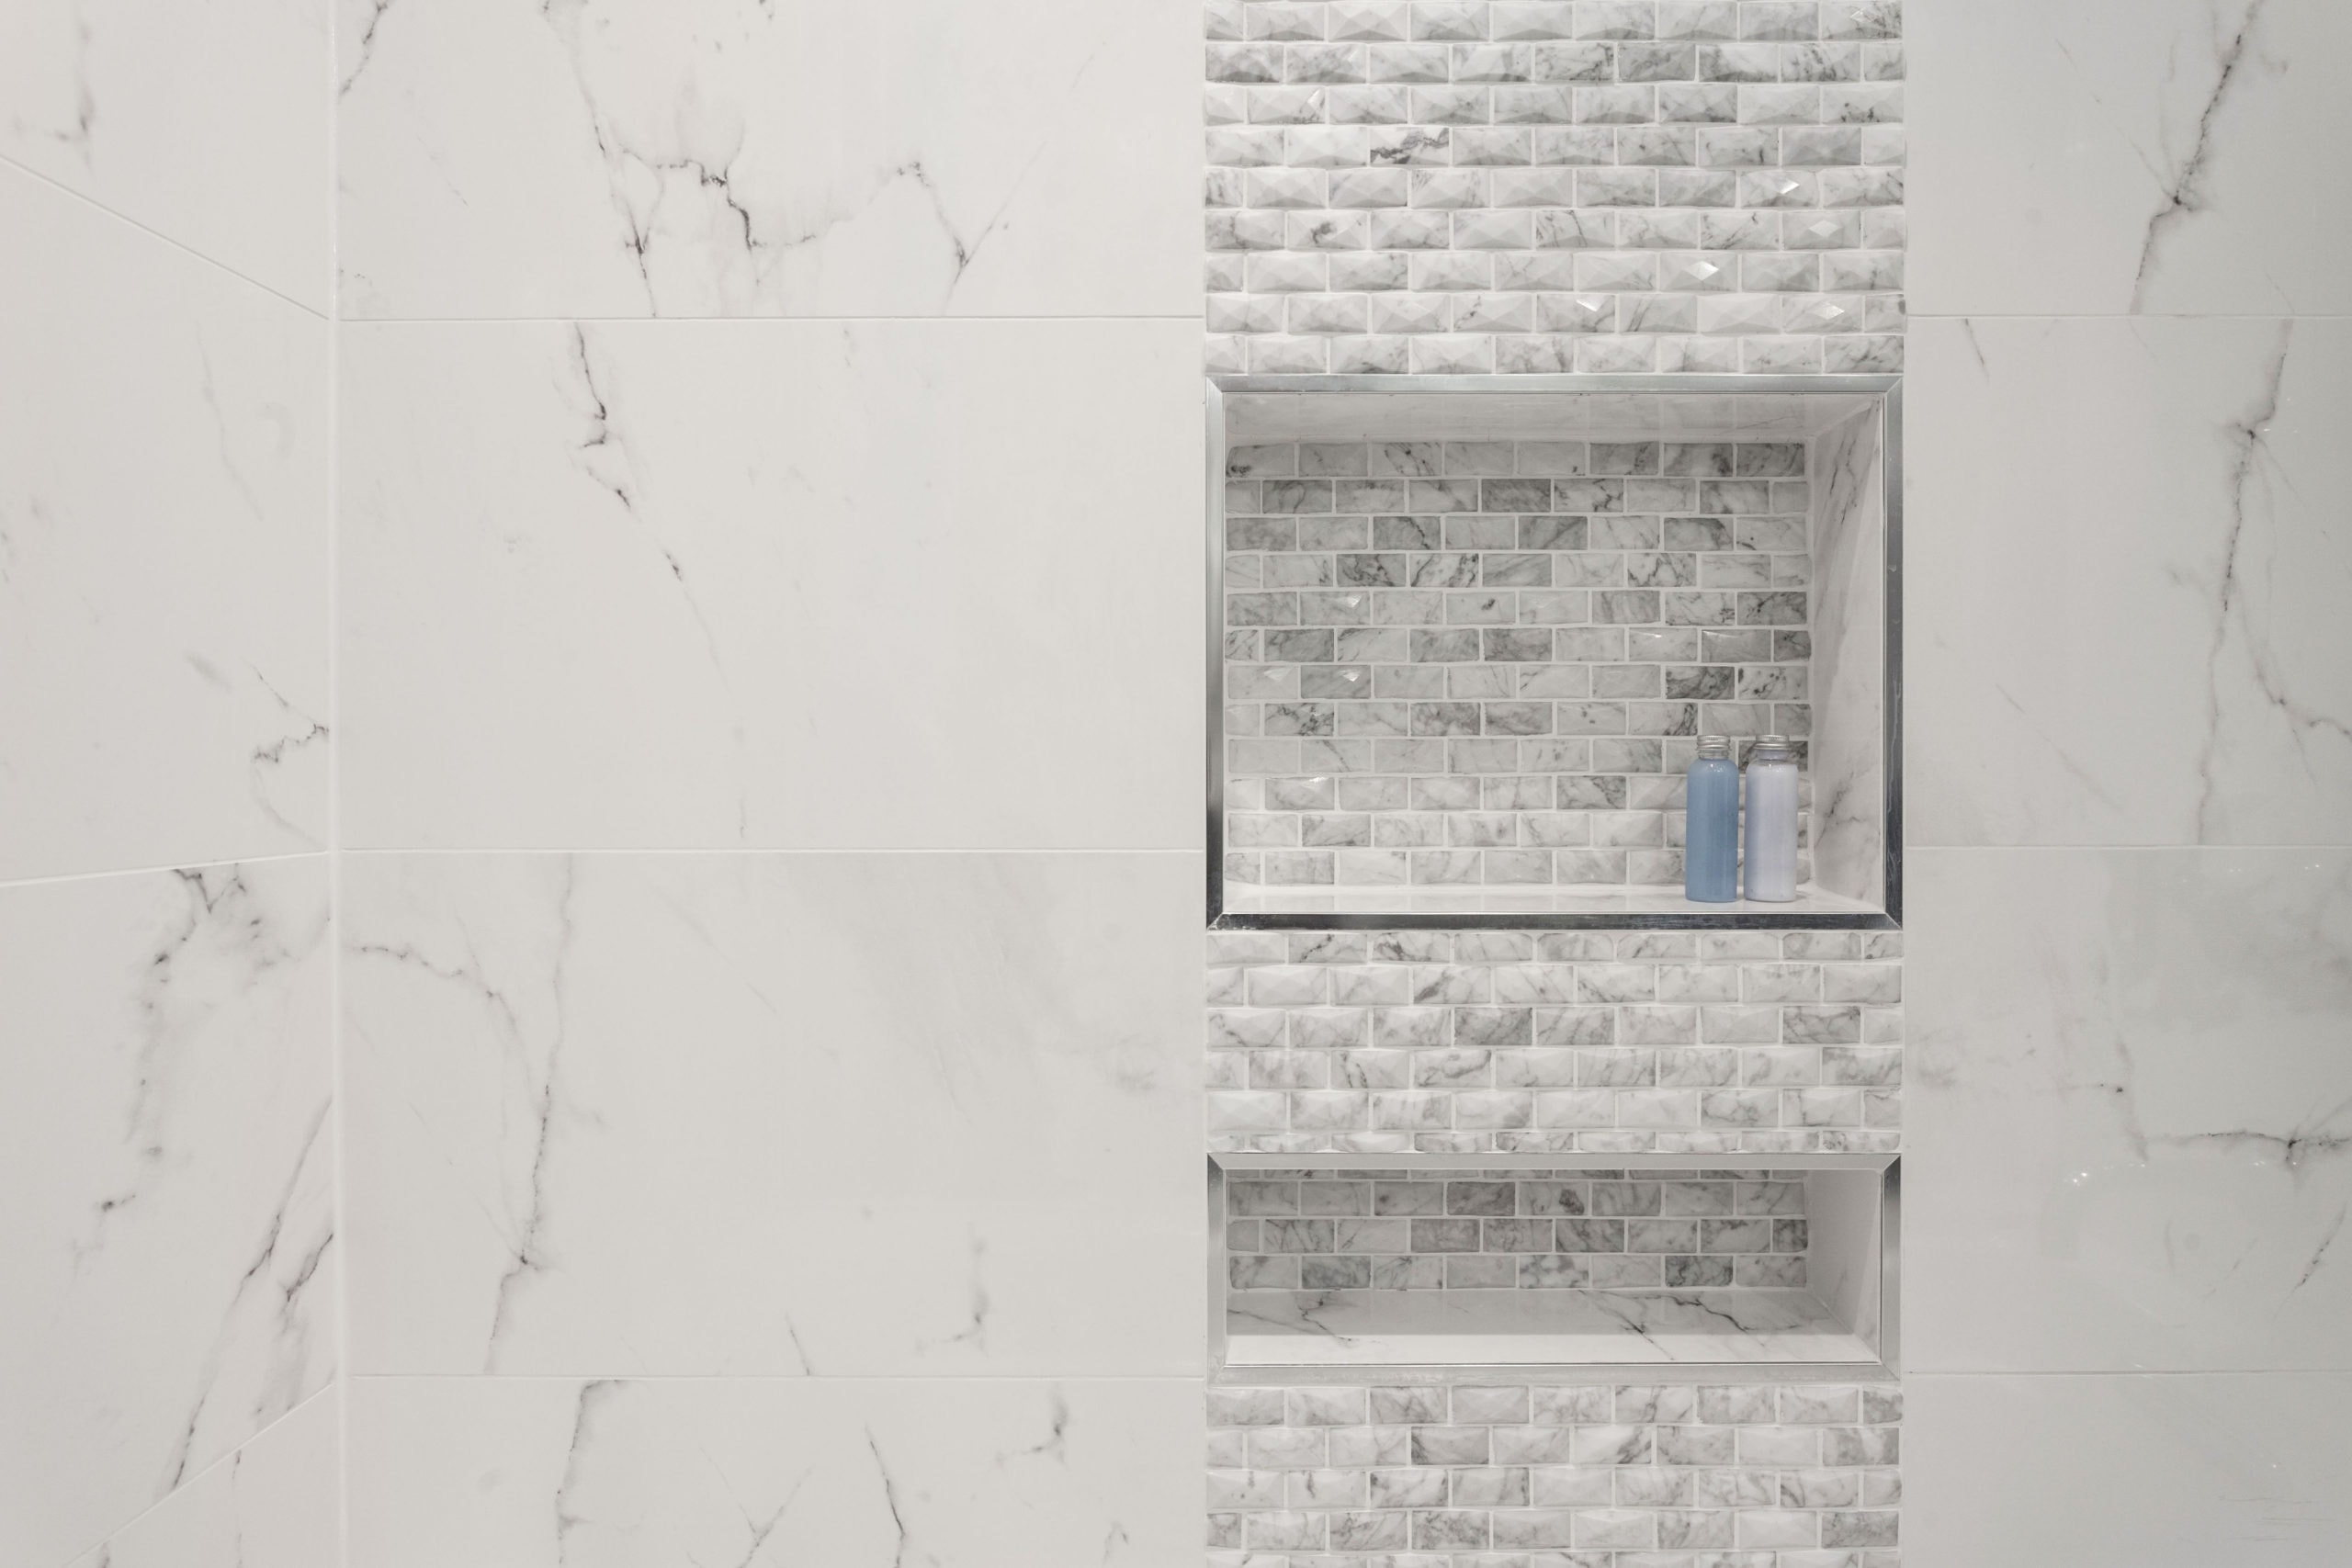
Your showering experience can be greatly improved by a shower niche. But, if the shower niche is susceptible to water, then it might turn into a major issue. You could wonder, “How to waterproof a shower niche?” in light of this.
By using fiberglass tape and a waterproofing membrane, you can easily waterproof your shower niche. You will also need caulk in order to ensure a solid fit. A shower niche without waterproofing might cause damage to your toilet.
To know these and more, dive into this article right now!
Easy Steps To Waterproof Your Shower Niche

The water resistance of your washroom is the weakest around the shower niches. Water that leaks into your inner chamber through an inadequately waterproofed shower niche can have catastrophic effects on your wiring and structural systems.
Because of this, it’s crucial to ensure that your shower niche is water resistant. You will be able to waterproof your niche by following some steps.
Let’s look at the things you need to waterproof your shower niche.
- Fiberglass tape
- Waterproofing membrane
- Scissors
- Putty Knife
Step-By-Step Process
Here we’ve broken down the hard tasks into easy steps. Let’s have a look.
Step 01: Cut the fiberglass tape.
A good option for creating a watertight barrier around niche apertures is using fiberglass tape. It will guard against water damage and cracking of the grout. Additionally, it is heat-resistant, allowing it to endure the hot temperatures in a shower.
Because it keeps moisture out, the tape needs to be precisely cut to size, and it will endure better than other materials. Simply measure the sizes accurately, and cut the tape.
Step 02: Use a Waterproofing membrane to cover the tile-free areas
After the tile has been removed and the tape is prepared, cover the area behind the niche with a waterproofing membrane. Choose the membrane that best fits your needs from the various varieties that are available.
While some membranes are more general-purpose, others are specially made for use in showers. To apply the membrane properly, be sure to thoroughly follow the directions.
The easiest approach to apply it is to spread it evenly throughout the surface using a putty knife or trowel. You ensure that it makes a tight seal, and make sure to bed it in thoroughly.
Give it 48 hours to dry. Now that everything has been waterproofed, tiling can begin.
Why are Shower Niches Vulnerable to Water?
Shower niches are particularly vulnerable to water damage because they aren’t as well insulated as the body of the bathroom wall. They are situated where the floor and the wall join.
As a result, they are prone to water penetration, particularly if there is a gap or break between these surfaces. Additionally, shower niches are frequently built after the tiling is finished, making it challenging to achieve a tight seal surrounding the niche entrance.
Even if you are successful in making a firm seal, it will only be effective for a short period until it begins to leak once more.
Moreover, a shower niche’s design may encourage standing water. Structure-damaging dampness or leaks can occur on niche walls made of permeable materials, such as stone, or on surfaces with a lot of grout.
Create the niche with shelves that slope forward and a bottom that is away from the direct spray of your shower to avoid these problems. Additionally, unless otherwise specified by the directions for the sealing compound used after installation, re-seal niche walls at least once a year.
Possible Consequences of Water Damage From a Shower Niche
When starting to leak, shower niches can result in a wide range of additional issues, including water damage to the walls and floors along with the development of mold.
To adequately waterproof your expertise and avoid these issues, action must be taken.
The shower system will begin to move in an atmosphere with a high temperature and high humidity. It will cause serious issues regardless of whether the grout is sealed. The grout line will gradually break and begin to leak as a consequence of that movement, as you can see.
This will allow water to seep into the grout and mortar pores, causing mold and mildew to form in the walls. Not only is this unpleasant, but it might also be bad for your health.
Avoiding a water damage issue could result in more serious problems in the future. To prevent more significant issues with your home’s wall construction or electrical short circuit, it’s crucial that you take action against any leaks.
How do You Seal a Shower Niche?- 5 Easy Steps!
Sealing and waterproofing carry out the same function, that is, to make sure water doesn’t penetrate a structure.
But they are not the same. While waterproofing solutions permeate concrete surfaces to fill up voids, sealers generally create protective coatings over them.
Let’s see a step-by-step process of how to seal a niche.
Step 1:
Fiberglass tape is used in the waterproofing procedure. It will combine with the protective layer to form a barrier that is water-resistant.
Pre Cut tape pieces should be used for all seams, including those along the bottom, top, corners, and walls. Keep them close by, neatly arranged on the floor.
Step 2:
Using a six-inch craft knife, apply waterproofing to the niche’s bottom, making sure to incorporate it into all the joints.
Apply membrane to the outer corners of the niche as well as the seams of the backer board. After situating the fiberglass tape with your hands, apply a membrane over it.
Step 3:
Initially, focus on the base. To create a precise fold across the front margin of the niche, you should fold one edge approximately an inch in. The rear is similarly folded up by the tape.
Step 4:
The corners should be covered in butterfly patches. These will underlap and overlap the wall and floor sections, respectively. On top of the butterfly corner, place an edge piece and repeat on the other side.
The same method is used to cover the exterior and interior corners of the lateral angles in the rear of the niche by folding the long strips into a Z-shape.
Step 5:
Over the tape, apply the membrane, flattening out any air pockets. Once more, the top strip of tape is applied last and folded over the outer edge and then over the inner corner. Over the tape, the sealing membrane is placed.
Apply membrane to any exposed screw heads and backer board as well. It can now be tiled after drying for a while.
Do You Grout or Caulk a Shower Niche?
Grout and caulk both appear to work well with fittings. Both items have adhesive characteristics, making them essential for tiling most tasks. But It is preferable to use caulk rather than grout for a shower niche.
The best option for filling gaps among tiles in showers or other places is typically grout. However, waterproof silicone caulk is extremely useful when two tiled shower walls connect or where a shower wall joins the floor, such as in a shower niche.
Since these seams are more prone to settle, the grout there is more susceptible to cracking. Some tile setters use matching color caulk to fill these seams since it is more flexible if movement occurs.
Furthermore, silicone caulk is less likely to acquire stains and mold than grout because grout is porous.
FAQ
How do you put cement boards in a niche?
Putting up a cement board in a niche can be tricky. However, if you stick to a few easy procedures, you can quickly set the board.
Firstly, you will need to cut out a piece of cement board according to the space of the niche. Secondly, you will have to apply caulk over both the niche and the cement board. Lastly, you just need to press the cement board firmly against the niche.
After the caulk dries up, your niche will become ready.
Can you install a shower niche after the tile?
The quick response is that it might be installed later. Due to the need for a completely integrated waterproofing system, the niche must be completed before the actual tiling.
The waterproofing would be compromised as soon as the tiles are disturbed, particularly if you also had to remove some of the supporting actually to install the niche.
What is the Best Wall to Mount a Shower Niche?
Before settling on a layout or style, ensure that the niche area won’t interfere with any piping or electricity behind the wall. Additionally, you should confirm that your niche is affixed to an exterior wall.
Although it’s generally advised to avoid installing a niche on an exterior wall when you live somewhere with cold winters, we nevertheless advise against doing so.
Even if you construct a fully waterproof shower niche, it is best to exercise caution because these are the regions most likely to become moist.
Final Thoughts
A leaky shower can ruin your day. the water can ruin your walls and encourage the growth of mold. But thanks to this article, “how to waterproof a shower niche,” you are prepared to take care of this issue.
Fiberglass tape and waterproof membrane are essential components for preserving your niche. The fiberglass tape will hold the membrane in place while the membrane keeps the niche safe from water damage.
To guarantee a successful waterproofing job, choose a quality membrane and tape. So go on and protect your shower with long-lasting insulation!

Amos Christen graduated with a bachelor’s degree in Interior Design from Drexel University — Philadelphia, PA. Since 2003, Amos has worked with top interior design professionals in this area, including architects and interior/graphic/lighting designers. As a skilled interior designer, Amos Christen is highly versed in fine arts and crafts and uses that to supplement his main area of expertise. He often publishes articles related to home décor on several websites, including Sprucetoilets.com, Sprucebathroom.com, and Mybesuitedhome.com. He also contributes to leading interior design magazines.
